Create Your Practice
Onboarding in Blawby happens in chat, not on a long form. The setup assistant asks the questions in order, validates your answers as you go, and shows a progress score so you can see what's left.
This page explains what onboarding collects, in what order, and how to make the right choices.
60-second walkthrough of PracticeOnboardingPage — the AI asks for the firm name, slug, accent color, contact info, services, and team.
/media/docs/onboarding/conversational-setup.mp4What you'll need
Before you start, have these on hand. The assistant will pause on any of them, but it's faster if they're ready:
- Firm name and a one-line description.
- Business email and phone for client communication.
- Office address (used for jurisdiction defaults and for displaying on payment receipts).
- Website URL (optional but recommended — used for branding).
- A short list of practice areas you want to handle.
- Email addresses for any team members you want to invite.
What onboarding collects
The assistant walks through five blocks. Each can be revised later from Settings → Practice.
1. Basics
- Practice name — the firm's full legal or trade name.
- Slug — your short identifier (e.g.
acme-law). It shows up in your widget URL and payment links. Keep it short and lowercase. - Accent color — used for client-facing surfaces: the chat widget, payment pages, engagement letters. Match your brand.
2. Contact
- Business email — where firm-wide notifications land.
- Business phone — surfaced on payment receipts and in the widget if you choose to show it.
- Address — your primary office. Used for the jurisdiction defaults the AI applies when intaking from clients in that state.
3. Services
A short list of the practice areas you handle (e.g. Personal Injury, Family Law, Estate Planning). Each service can have a description that the AI surfaces during intake — so a client asking "do you handle X?" gets a real answer, not a generic deflection.
You don't have to be exhaustive on day one. Add more later as your firm's scope evolves.
4. Coverage areas
The jurisdictions where you're admitted to practice. The AI uses these for routing logic — for example, declining intakes from states where you can't represent the client, or flagging pro-hac-vice cases for review.
5. Team
Invite the other attorneys, paralegals, or admin staff who'll be using Blawby with you. Each invite specifies a role:
| Role | What they can do |
|---|---|
| Admin | Full practice access — settings, billing, team management, every matter. |
| Attorney | Matters, clients, intake review, time entry, invoices. |
| Staff | Matters they're assigned to, time entry, file uploads — no settings or billing controls. |
Invites go out by email. Team members create their own credentials when they accept.
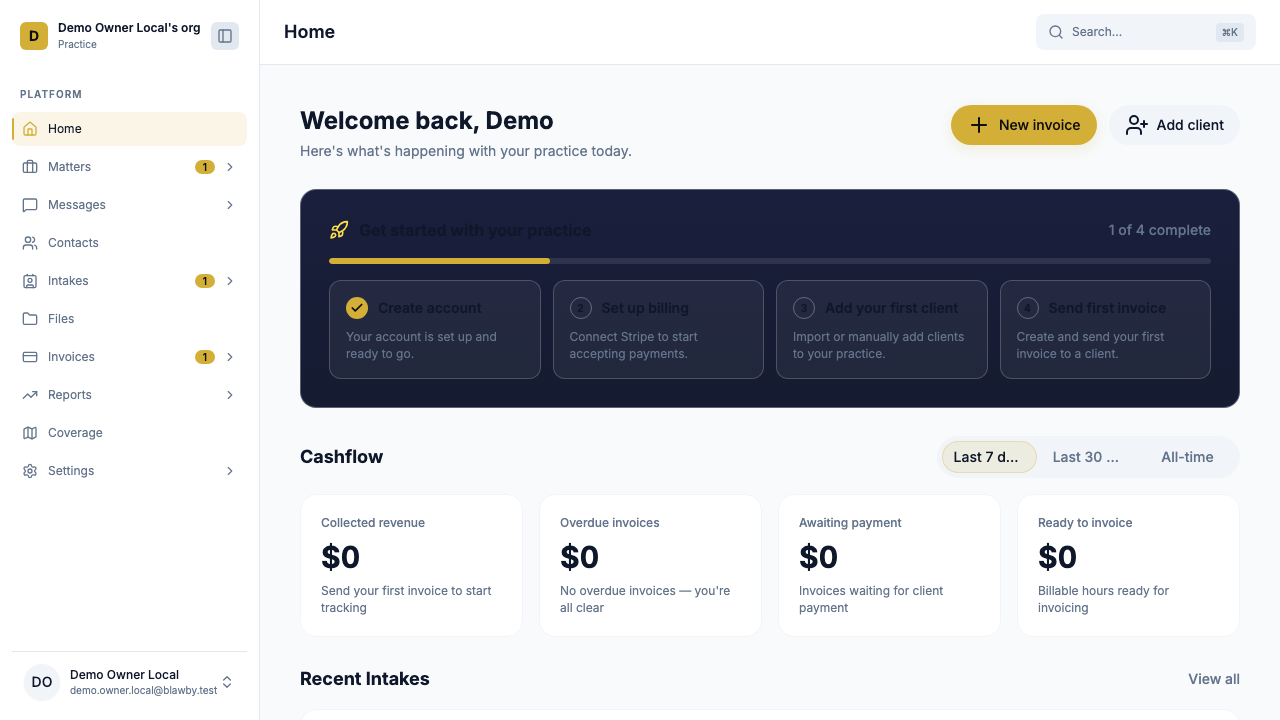
What you'll see when onboarding is done
A dashboard showing:
- Your intake queue (empty until your first widget submission).
- Recent matters, outstanding payments, new clients — placeholder cards until you have data.
- Quick actions — log a time entry, send a payment request, create a matter, view reports.
- A persistent bell for in-app notifications.
Common questions during onboarding
My firm name is taken as a slug.
Slugs are unique across all of Blawby. Add a short qualifier (acme-law-co, acme-pllc).
Can I onboard before I'm ready to take clients? Yes. Onboarding doesn't expose your widget publicly until you decide. You can configure intake templates, invite your team, and explore the dashboard before sharing your widget URL.
I'm a solo attorney. Do I still need to invite team members? No. Skip the team step and move on. You can invite later as you grow.
I'm not sure what to put as my accent color. The default works fine. You can change it any time from Settings → Practice → Branding and it'll update across all client-facing surfaces.
Security defaults
Every Blawby practice ships with these on by default; you don't configure them:
- All traffic over HTTPS.
- Sessions issued and validated by Blawby's hosted Better Auth.
- Encryption at rest for client records, files, and chat history.
- File-upload validation (25 MB cap, MIME-type checks).
- Rate limiting on AI and intake endpoints.
Two-factor authentication is optional and can be enabled per user under Settings → Security.
Next: connect Stripe so you can collect payments
The dashboard works without Stripe, but you'll need it before your first invoice or consultation fee can be collected.